If you’re looking for a quick, healthy snack that the whole family will love, these No Bake Protein Balls are just what you need! They’re perfect for busy weeknights or as a delightful treat for your next gathering. I love how easy they come together with just six simple ingredients. Plus, they’re packed with protein to keep you energized throughout the day.
These little bites of goodness have become a staple in my home. Whether I’m preparing for a workout or just need a pick-me-up in the afternoon, these protein balls never disappoint. They’re not only delicious but also incredibly versatile, making them suitable for various occasions and taste preferences.
Why You’ll Love This Recipe
- Super easy to make: With just 10 minutes of prep time, you can whip these up without any baking fuss.
- Family-friendly fun: Kids and adults alike enjoy rolling these treats into bite-sized balls—perfect for making memories together!
- Wholesome ingredients: Made with nutritious oats and peanut butter, these energy bites are a guilt-free snack option.
- Make-ahead convenience: Store them in the fridge or freezer for a quick grab-and-go snack anytime!
- Endless flavor possibilities: You can easily customize them to suit your taste buds.
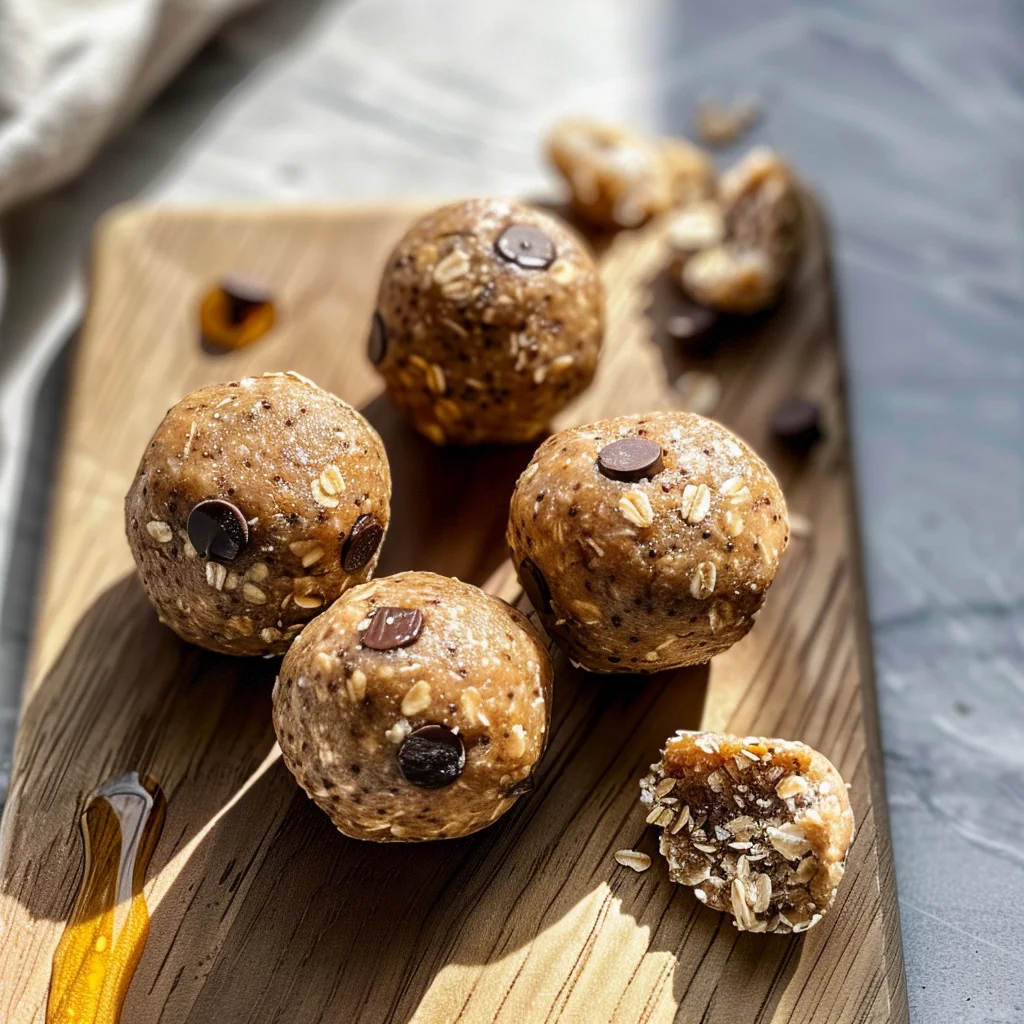
Ingredients You’ll Need
Making these No Bake Protein Balls is a breeze thanks to their simple and wholesome ingredients. Here’s what you’ll need:
For the Energy Balls
- 1 1/2 cups no stir creamy peanut butter
- 1/2 cup honey
- 1 1/3 cups old fashioned oats (rolled oats)
- 1/2 cup vanilla protein powder
- 1/8 teaspoon salt
- 1/2 cup mini chocolate chips
Variations
One of the best parts about this recipe is its flexibility! Feel free to mix things up based on your preferences or dietary needs:
- Swap the nut butter: If you’re allergic to peanuts, try using almond butter or sunflower seed butter for a nut-free option.
- Add some crunch: Toss in some chopped nuts or seeds like chia or flaxseed for added texture and nutrients.
- Change up the sweetener: For a different sweetness profile, substitute honey with maple syrup or agave nectar.
- Boost the flavor: Experiment with adding spices like cinnamon or cocoa powder for an extra kick!
How to Make No Bake Protein Balls
Step 1: Mix the Ingredients
Start by adding the no stir creamy peanut butter, honey, rolled oats, vanilla protein powder, salt, and mini chocolate chips into a mixing bowl. Using a rubber spatula, mix everything together until fully combined. This step is crucial as it ensures every bite is bursting with flavor!
Step 2: Portion Out the Energy Balls
Next, grab a mini cookie scoop or spoon to drop about one inch-sized portions onto a wax-paper-covered cookie sheet. These bites are meant to be easy to eat on-the-go, so keeping them small makes them perfect for snacking.
Step 3: Shape Them Up
Once you’ve dropped all the portions onto the cookie sheet, use your hands to roll each portion into smooth balls. This helps ensure even size and makes them look appealing when served!
Step 4: Chill and Set
Place your cookie sheet in the fridge for about an hour—or until they’re nice and firm. Chilling is essential because it helps set the balls so they hold their shape when you take a bite.
Step 5: Store Properly
After they’ve hardened, transfer your energy balls into a ziploc bag. They can be stored in the fridge for about a week or popped into the freezer for up to three months! Enjoy knowing that you have a healthy treat ready whenever hunger strikes.
Pro Tips for Making No Bake Protein Balls
Making no bake protein balls is a breeze, and a few helpful tips can make your experience even better!
Use room temperature ingredients: This makes mixing easier and ensures that all ingredients blend smoothly for a cohesive texture.
Experiment with add-ins: Consider adding nuts, seeds, or dried fruits to customize your protein balls and enhance their flavor and nutritional profile.
Chill before rolling: If your mixture feels too sticky, refrigerate it for about 15 minutes before rolling. This helps in forming perfect balls without the mess.
Adjust sweetness to taste: If you prefer a less sweet snack, reduce the honey slightly, or substitute it with maple syrup or agave nectar.
Store correctly: For optimal freshness, keep your energy balls in an airtight container in the fridge or freezer. This will help maintain their taste and texture longer.
How to Serve No Bake Protein Balls
These no bake protein balls are not only delicious but also versatile! Here are some fun ways to present and enjoy them.
Garnishes
- Cacao nibs: Sprinkle some cacao nibs on top of the energy balls for a rich chocolatey crunch that complements the mini chocolate chips.
- Shredded coconut: A light dusting of shredded coconut adds a tropical flair and enhances the visual appeal of your protein balls.
Side Dishes
- Fresh fruit: Serve alongside sliced apples or bananas for a refreshing contrast that balances out the energy bites’ sweetness.
- Greek yogurt: A side of creamy Greek yogurt provides additional protein and can be used as a dip for the protein balls.
- Nut butter: Pair with extra peanut butter or almond butter on the side for those who love an extra nutty punch.
- Trail mix: Create a small trail mix bowl with nuts, seeds, and dried fruits to complement the flavors of your no bake protein balls while providing additional energy.
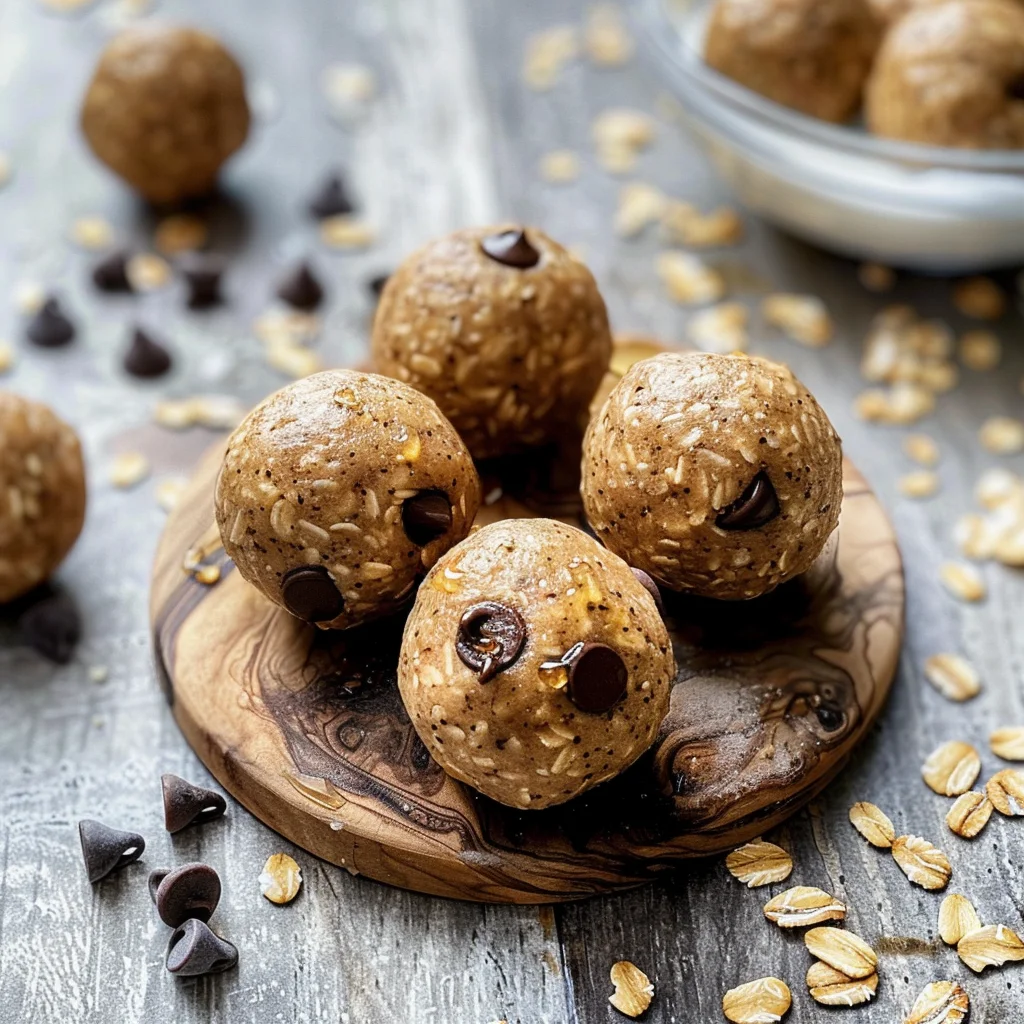
Make Ahead and Storage
These No Bake Protein Balls are perfect for meal prep, making them an ideal snack to have on hand throughout the week.
Storing Leftovers
- Store the protein balls in an airtight container in the fridge for up to one week.
- Place parchment paper between layers if stacking to prevent sticking.
Freezing
- For longer storage, freeze the protein balls in a single layer on a baking sheet.
- Once frozen, transfer them to a zip-top bag or airtight container for up to 2-3 months.
Reheating
- There’s no need to reheat; simply enjoy them straight from the fridge or freezer!
- If desired, let them sit at room temperature for a few minutes before enjoying.
FAQs
Can I use different types of protein powder in No Bake Protein Balls?
Absolutely! You can substitute with plant-based protein powder or your favorite flavor. Just keep in mind that it may slightly alter the taste and texture.
How do I customize my No Bake Protein Balls?
You can add extras like dried fruits, seeds, or spices such as cinnamon. Feel free to experiment with ingredients you love!
How long do No Bake Protein Balls last?
When stored properly, these energy bites will last about one week in the fridge and up to three months in the freezer.
Final Thoughts
I hope you enjoy making these delightful No Bake Protein Balls as much as I do! They’re not only easy to make but also provide a delicious and healthy snack option for your busy days. Don’t hesitate to get creative with your mix-ins and flavors — happy snacking!
No Bake Protein Balls
No Bake Protein Balls are the ultimate healthy snack for any time of day! They come together in just a few minutes, making them perfect for busy families or anyone looking for a quick energy boost. Packed with protein and wholesome ingredients like creamy peanut butter and oats, these delightful bites not only satisfy your sweet tooth but also fuel your body. Whether you’re prepping for a workout or need a mid-afternoon pick-me-up, these versatile energy balls can be customized to suit your taste preferences. With endless flavor variations and the convenience of being made ahead of time, they are sure to become a staple in your home.
- Prep Time: 10 minutes
- Cook Time: None
- Total Time: 0 hours
- Yield: Approximately 20 servings 1x
- Category: Snack
- Method: No Bake
- Cuisine: American
Ingredients
- 1 1/2 cups no stir creamy peanut butter
- 1/2 cup honey
- 1 1/3 cups old fashioned oats
- 1/2 cup vanilla protein powder
- 1/8 teaspoon salt
- 1/2 cup mini chocolate chips
Instructions
- In a mixing bowl, combine peanut butter, honey, rolled oats, protein powder, salt, and mini chocolate chips. Mix until well blended.
- Use a mini cookie scoop or spoon to drop one-inch portions onto a wax-paper-covered cookie sheet.
- Roll each portion into smooth balls with your hands.
- Chill in the refrigerator for about an hour until firm.
- Store in an airtight container in the fridge for up to one week or freeze for up to three months.
Nutrition
- Serving Size: 1 serving
- Calories: 100
- Sugar: 6g
- Sodium: 50mg
- Fat: 5g
- Saturated Fat: 1g
- Unsaturated Fat: 4g
- Trans Fat: 0g
- Carbohydrates: 9g
- Fiber: 1g
- Protein: 4g
- Cholesterol: 0mg